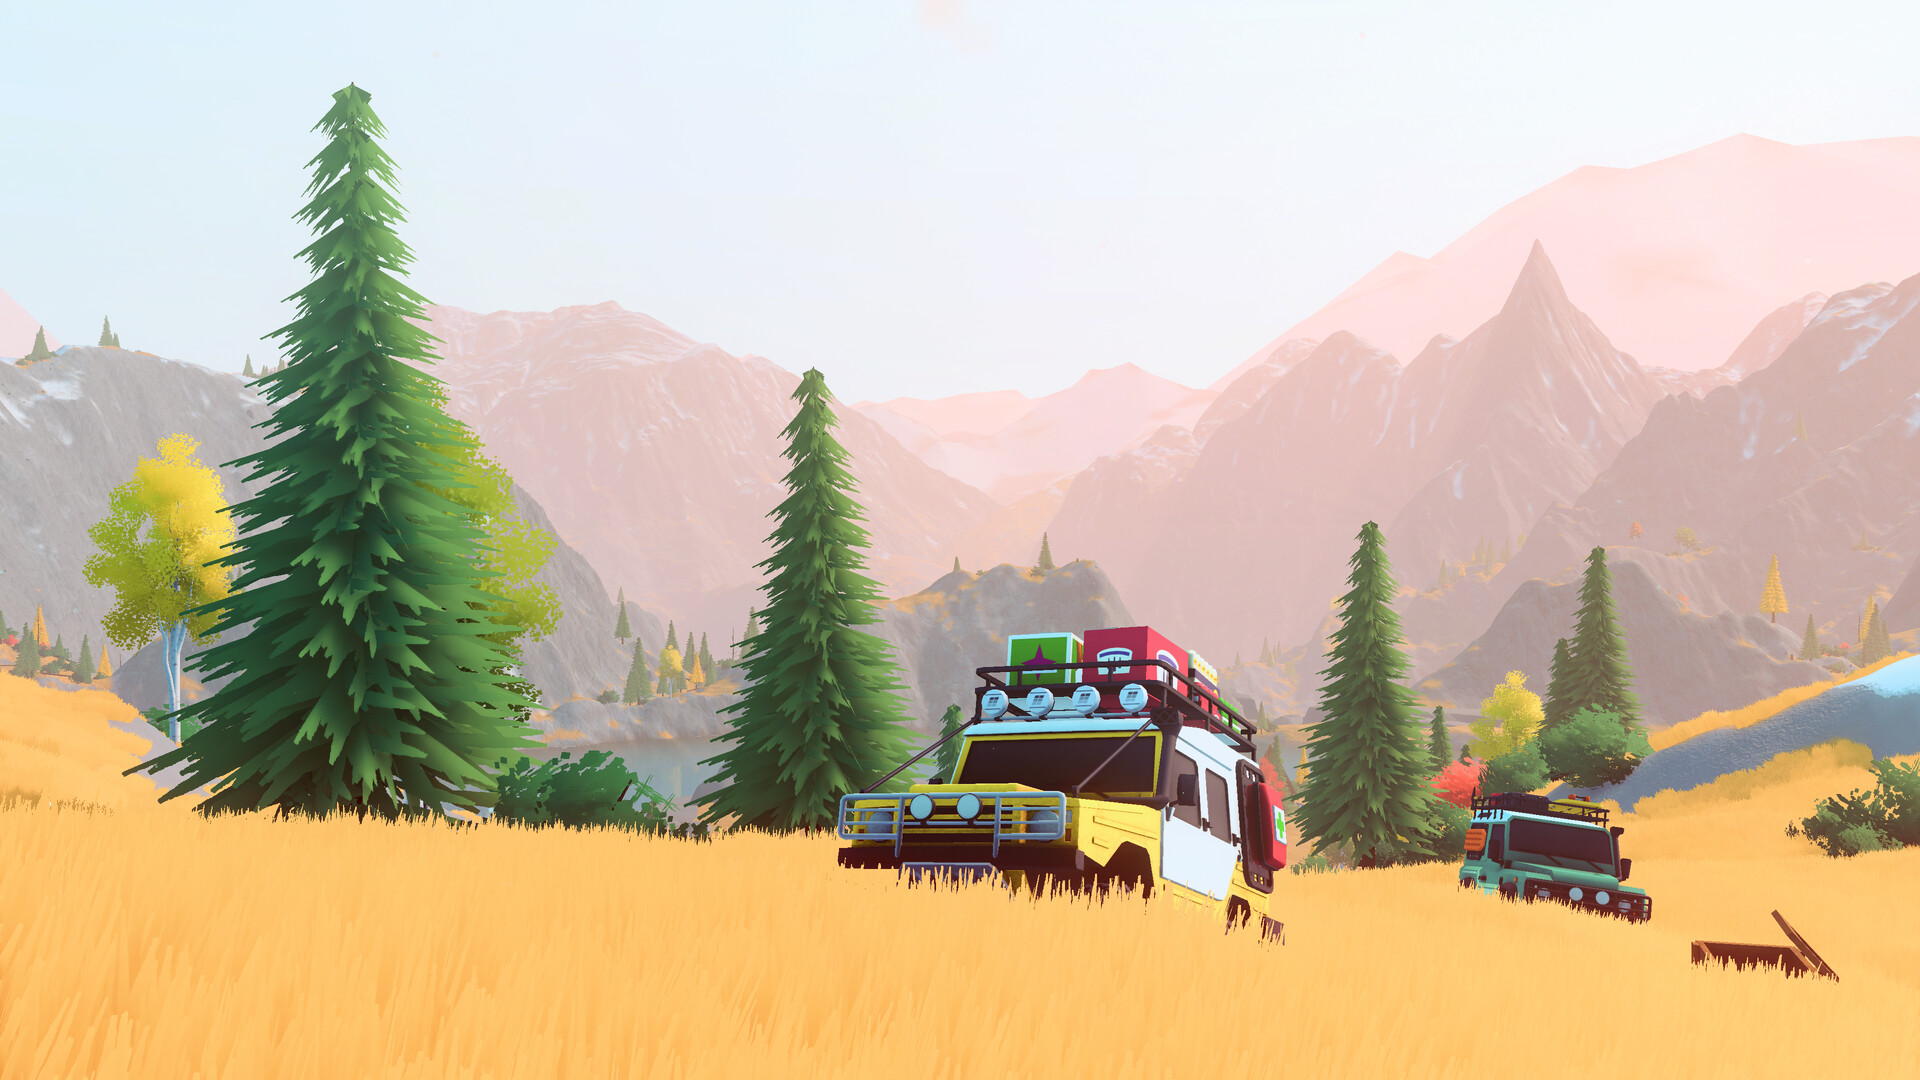
The first useful loop is to find a nearby cabin, choose a manageable trail, and pack a tool loadout before you drive. You start with one tool slot and can buy up to four, so choose the tool the route can actually strand you with.
On this page
Choose a first route
- Open the map and pick a nearby trail or point of interest.
- Visit a cabin early so you have a travel point in the area.
- Check the ground and weather before a steep or muddy approach; tyre condition and rain affect grip.
- Decide your tool loadout before you set off. A new vehicle carries one tool slot, so the tool this route can strand you with is the one competing for that single place.
If the car cannot climb or becomes stranded, use the vehicle recovery guide before committing to a longer detour.
Pack the tools the route can strand you with
Match the loadout to the failure you are most likely to have:
- No tree to hook a winch to on an exposed climb — carry the portable winch anchor.
- An off-camber section where a roll-over is likely — carry the car jack.
- A gap or a soft patch that will not hold the tyres — carry planks.
- A long run far from a cabin — carry a repair kit.
- Weather that is turning the trail to mud — carry the weather bell.
- A night drive or a wait for the light — carry the camp kit.
- A meteorite run later in the region — carry the meteorite radar.
The winch itself pulls an upright vehicle toward a tree, an anchor or another vehicle and is reusable, so one winch covers every recovery instead of two. Extra slots cost 25, 50 and 75 Pebbles and are set at the Mechanic before you leave, so the loadout and tool guide has the full list.
Build a repeatable exploration loop
Launch play starts inside the Canadian region — Emerald Lake is the natural first biome, with Gimli Ridge and Asgard Mountain reachable through portals once a cabin resume point is set. The Algerian region (Tassili n'Ajjer Desert and Aurès Mountains) opens as later objectives. The areas are hand-crafted and connected by portals; explore a cluster of trails, viewpoints, wildlife and cabins before moving to the next area.
Windy Joe Trail sits inside Emerald Lake and is an early way to add the Trail Burner to the garage alongside challenge trails that award Pebbles — the full vehicle roster lists the trail behind every other car. Photographing the animals you meet fills the animal journal and pays a first-time Pebble reward; the photo mode and wildlife guide covers the camera and the journal.
For the full named biome roster, see the map and portal guide.
When to upgrade
Spend Pebbles on the limitation you actually encounter. Grip, parts and recovery equipment solve different problems; a new colour or accessory changes appearance. The first purchase most players make is the tool slot, because one slot cannot cover both a pull and a repair. The Pebbles and upgrades guide explains the earning loop, every price and the purchase decision.